Our screenshot comparison pipeline checks OpenZT2 against the original game. This post covers the code underneath those pictures: how the original Direct3D 9 Effects files reach our Bevy renderer.
Zoo Tycoon 2 uses the D3D9 Effects Framework to package rendering instructions in .fx files. An effect can contain shader functions written in HLSL, Microsoft’s shader language, alongside parameters and techniques. Each technique contains ordered passes, and each pass selects shaders and assigns render state.
Effect structure
Here’s a small effect written for this article. Its pixel shader only returns a tint, but the pass around it also turns on alpha blending, chooses the blend factors and switches off depth writes:
float4 Tint = float4(1.0, 0.5, 0.2, 0.5);

float4 tint_pixel() : COLOR0
{
    return Tint;
}

technique TransparentTint
{
    pass P0
    {
        PixelShader = compile ps_2_0 tint_pixel();
        AlphaBlendEnable = TRUE;
        SrcBlend = SRCALPHA;
        DestBlend = INVSRCALPHA;
        ZWriteEnable = FALSE;
    }
}
Translating the function alone keeps the colour calculation but loses the pass assignments. Written as an opaque pixel, the half-transparent tint becomes a solid patch, and with the wrong depth writes, a surface can hide something behind it. State assignments can also use parameters, so reading them once as constants loses their connection to the material. We need the effect’s evaluation rules as well as its shader compiler.
Existing compilers
To load Effects without Microsoft’s Windows-only D3DX library, we use two native libraries, Wine’s vkd3d-shader and MojoShader.
vkd3d-shader compiles the whole effect with the fx_2_0 profile into FX2 bytecode containing the effect structure and its shaders. An Effects file is a proper language, with expressions, declarations and preprocessing rules of its own, so treating it as strings to search and replace would slowly turn into an accidental compiler. Includes are opened through OpenZT2’s archive overlay, so a mod can override an included file independently of the main effect.
MojoShader opens the compiled effect, applies the material’s parameter values and evaluates each pass, giving us its selected shaders and state changes. We also use its assembler for inline legacy shader assembly and its SPIR-V backend to translate D3D9 shader bytecode.
Patches
The game exercises unfinished FX2 paths in both libraries, so we patched them. Our vkd3d-shader patches emit sampler and object state and turn parameter-dependent state expressions into small preshader programs, which MojoShader evaluates with the material’s parameters when a pass begins.
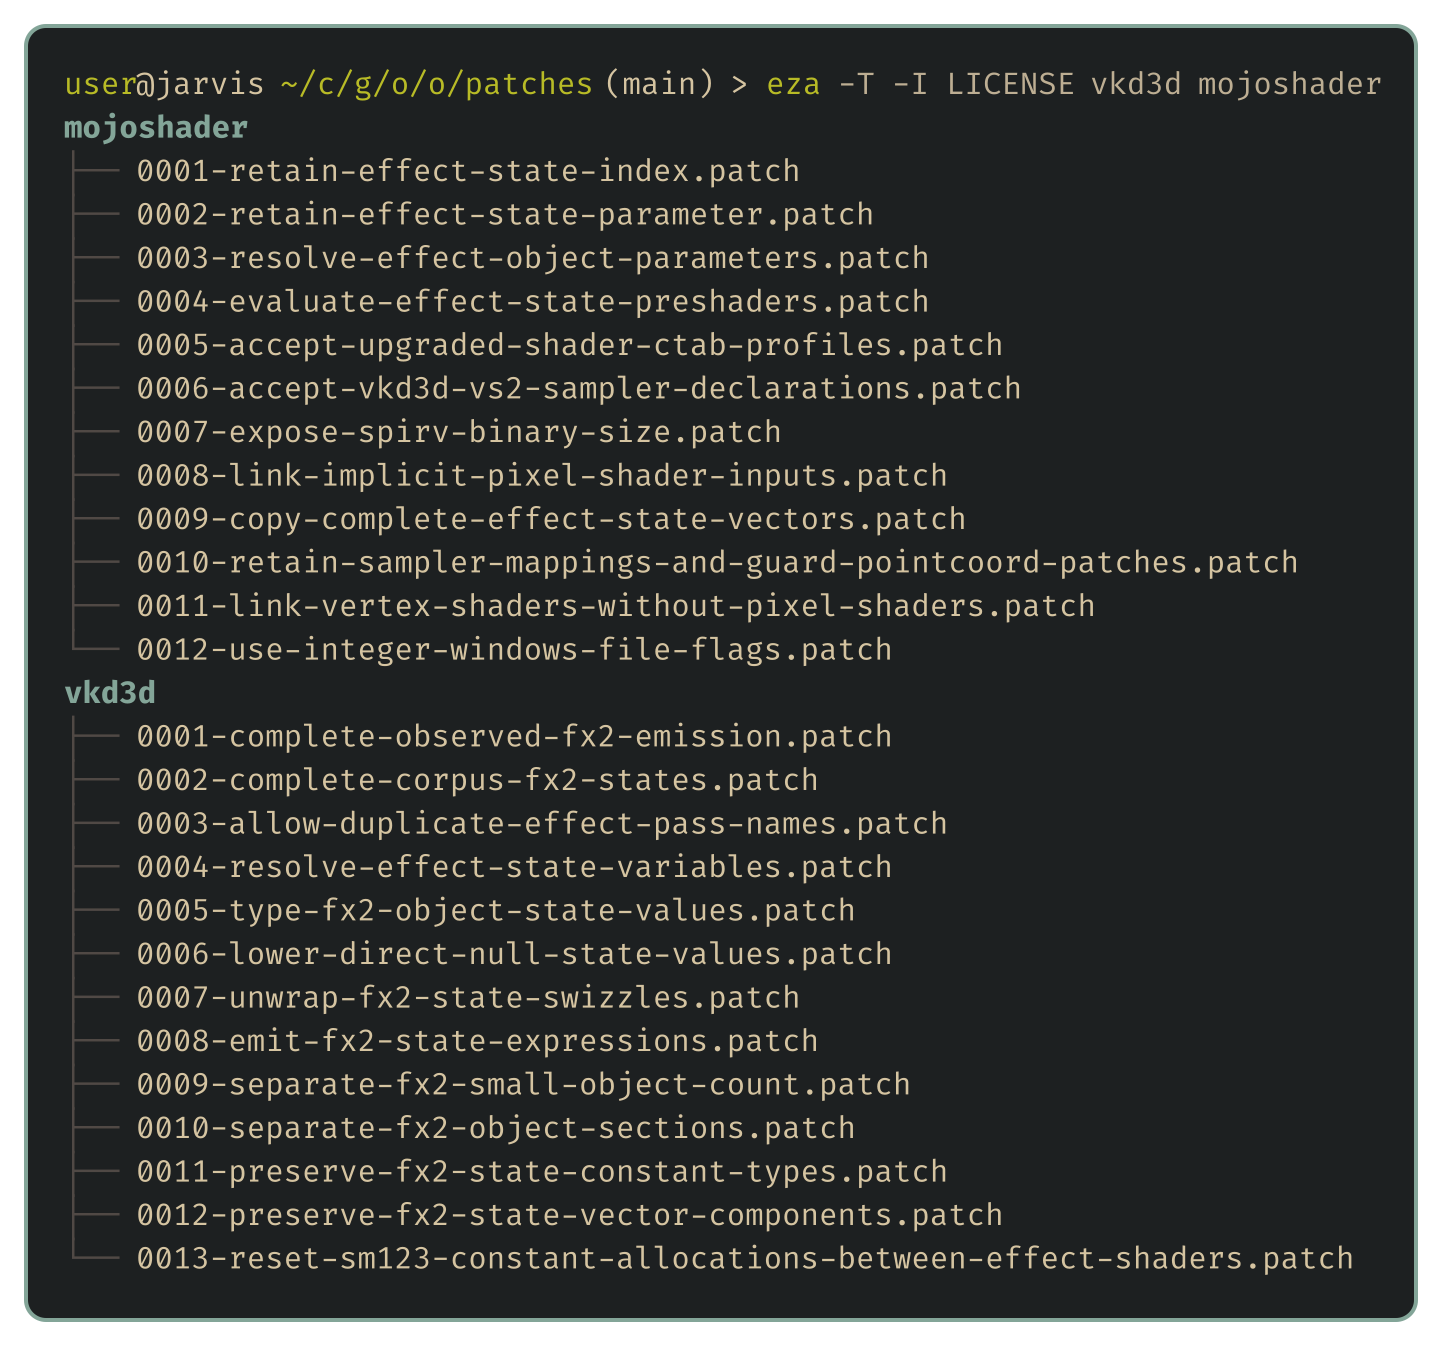
Other patches preserve state value types, complete state vectors, sampler mappings and the order of repeated pass labels, because losing an index or a vector component can give the renderer a plausible value for the wrong texture stage. We also extended MojoShader’s SPIR-V linking so older pixel shaders’ implicit inputs connect to the vertex shader’s outputs.
Bevy materials
MojoShader produces SPIR-V, an intermediate shader format, and Bevy accepts it directly through Shader::from_spirv, so HLSL never has to become WGSL text. We write WGSL ourselves only for the fixed-function material implementation, including a fragment shader adapted to a programmable vertex shader’s outputs.
Each evaluated pass becomes an EffectPassMaterial asset. Its shader handles and texture bindings are registered with Bevy, and the pass’s state goes into a material pipeline specialization key, which configures blending, culling and depth in the wgpu renderer:
target.blend = key.bind_group_data.blend_state;
target.write_mask = key.bind_group_data.color_writes;

descriptor.primitive.cull_mode = key.bind_group_data.cull_face;
descriptor.primitive.polygon_mode = key.bind_group_data.polygon_mode;

depth.depth_write_enabled = Some(key.bind_group_data.depth_write_enabled);
depth.depth_compare = Some(key.bind_group_data.depth_compare);
A D3D9 sampler combines a texture and its sampling settings in one slot, while Bevy’s material layout keeps images and samplers separate, so we use rspirv to split each combined sampler in the SPIR-V. Bevy and wgpu then own the pipelines and draw submission, and the Effects libraries only compile and evaluate the original instructions.
Checking the picture
A successful compile only shows that the compiler accepted the effect. Finding a wrong blend factor, a missing texture binding or a pass drawn in the wrong order takes a rendered comparison. Cloud shading and text layout still differ from the original, and we follow each difference back through the material state and shader inputs, then capture the same checkpoint again after a correction.